Controlling Light: The Beginner’s Guide to the Exposure Triangle
Of all the settings on your camera, three are arguably the most important: Aperture, Shutter Speed, and ISO.
Together, these settings control light—photography’s critical ingredient—and determine whether your photo is too dark (underexposed), too bright (overexposed), or just right. Exposure, or the amount of light entering your camera, is one of the first things you’ll notice when looking at any picture, as it significantly affects the mood and detail throughout a scene.
Travel to the University of Texas at Austin, for example, and you’ll find the first known photograph, created by Joseph Nicéphore Niépce circa 1826. The famous photograph shows the view from the inventor’s studio window in France, including the rooftops and buildings outside. But if you’ve ever seen the image in person, you know it’s murky and hard to make out, and that’s not because it’s faded over time. The iconic image is faint because it’s underexposed.
While cameras have evolved by leaps and bounds within the two centuries since Niépce’s groundbreaking invention, many photographers today have experienced the disappointment of miscalculating exposure. When you don’t have enough light, your photo will come out underexposed; too much light, on the other hand, will result in overexposure. Either way, you’ll lose some of the detail that brings your composition to life.
If you set your camera to Auto mode, your camera will decide Aperture, Shutter Speed, and ISO settings for you based on its “interpretation” of the light. In some cases, that’ll work, but in others, your camera will get it wrong. That’s where shooting in manual mode—and understanding the nuances of your exposure settings—comes into play.
In manual mode, you control your Aperture, Shutter Speed, and ISO—and ultimately, the darkness or brightness of your photo. “I always recommend beginners shoot in manual,” photographer and author Chris Gatcum tells us. “Don’t get me wrong, today’s digital cameras are great, but one drawback is that they have the option to make photography a bit too ‘easy.’ Thinking harder, finding answers, and making mistakes will ultimately help you learn a lot more than switching to an automated setting that lets the camera do the work for you.”
In this article, we’ll cover the basics of manipulating these three settings and using them to your advantage.
Understanding aperture
How aperture affects exposure
Like the human eye, your camera has an “iris” that can widen to let in more light or constrict to let in less light. The size of your lens’s iris, known as “aperture,” is controlled by overlapping blades and is represented in f-stops. It will vary based on your lens, but common f-stops include f/1.4, f/2, f/2.8, f/4, all the way up to f/64 and beyond.
You can think of these numbers as fractions: f/1.4 is a larger opening than f/2, which is larger than f/2.8, and so on. If you set your aperture to f/2, for example, you’ll get half as much light coming into your lens as you would at f/1.4. If you go from f/4 to f/2.8, on the other hand, you’re doubling the light.
If you’re shooting on a sunny day and find your photos are coming out overexposed, one option would be to narrow your aperture, or “stop down,” to allow less light to pass. In a dark room, you might do the opposite and opt for a wider aperture to brighten your image.
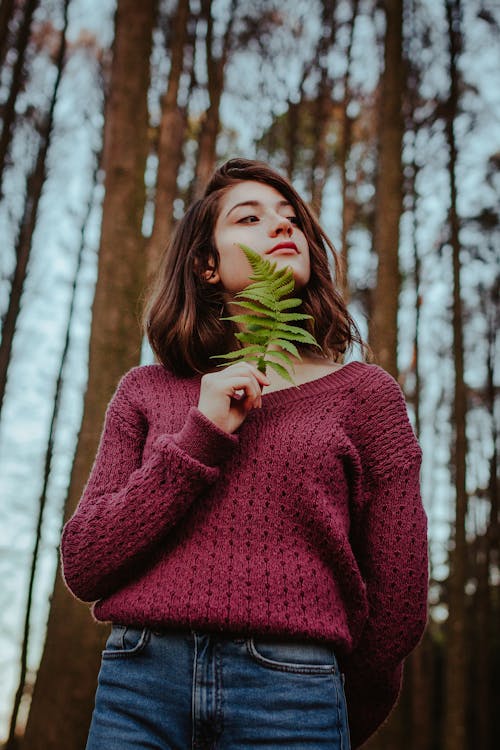
Juliana Stein creates soft background bokeh by opening up her aperture to f/2.2.
Photo by Juliana Stein · View Photo
How aperture affects depth of field
At the same time, it’s important to remember that aperture controls more than just your exposure. It also controls your depth of field, or the distance between the closest and farthest subjects in focus within your frame. A narrow aperture results in a wide depth of field, meaning that objects both close and far will be sharp; alternatively, a wider aperture means a shallower depth of field, so you might get a creamy, out-of-focus look in portions of your image that are close-up or far away.
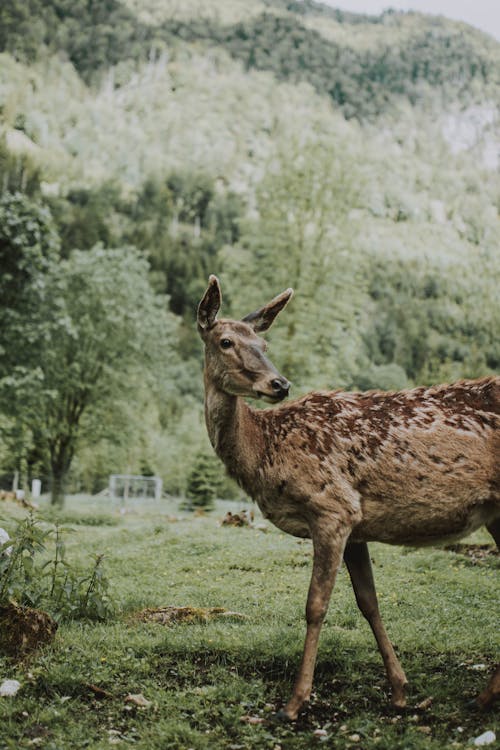
Fotografierende gets a nice, creamy background in this deer portrait, while keeping the animal in focus, by using an aperture of f/1.8.
Photo by lil artsy · View Photo
Depth of field is a creative decision, but in general, you’ll find narrow depths of field in portraiture because it creates that pleasant blurry effect in the background. On the other hand, you’re likely to see wide depths of field (narrow aperture) in landscape photography, where photographers want every detail to be in focus.
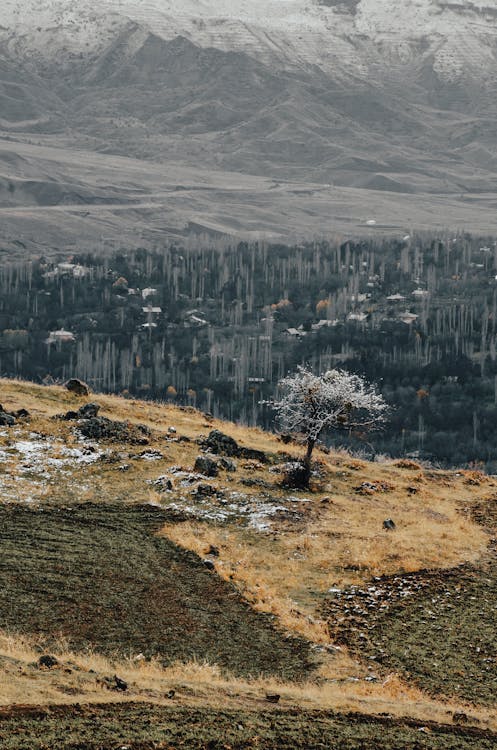
Ekrulila uses an aperture of f/11.0 to keep a landscape in focus, from the tree to the mountains.
Photo by Gül Işık · View Photo
If you like photo history, you’ll know that in the 1930s, a group of famous photographers in San Francisco, including Imogen Cunningham, Edward Weston, and more, named themselves “Group f/64” because they loved narrow apertures and the sharp focus they created throughout an image.
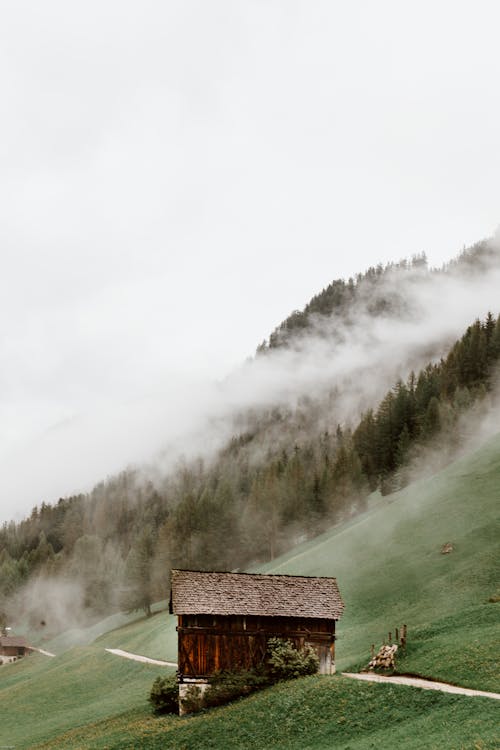
Eberhard Grossgasteiger stops down to f/11 to keep the foreground and background of this landscape in focus.
Photo by eberhard grossgasteiger · View Photo
To summarize, opening your aperture will do two things: increase the brightness of your photo and narrow your depth of field. If you want to make your photo brighter but don’t want to sacrifice depth of field, you have another option, and that’s to adjust one of the other two corners of the exposure triangle: shutter speed or ISO.
Understanding shutter speed
How shutter speed affects exposure
Depending on your camera, you might have a mechanical or an electronic shutter, and within the range of mechanical shutters, you can have a number of different designs. For our purposes, however, we’ll keep this explanation simple: when you take a photo, your camera’s shutter opens, allowing light to hit your sensor (or film).
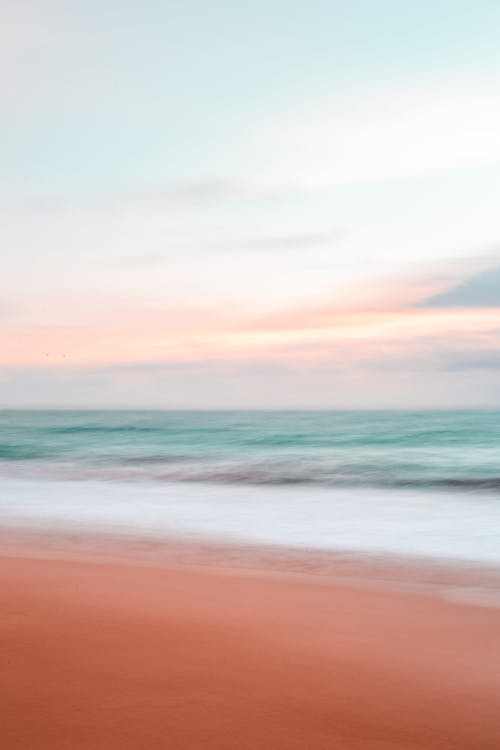
UHGO uses a shutter speed of 2.0 sec to create motion blur across the sea and sky.
Photo by UHGO · View Photo
Shutter speed refers to the duration of time in which your sensor is exposed to light. The longer it’s open, the brighter your image. We measure shutter speed in seconds (or fractions of a second), generally from around 1/4000 of a second to 30 seconds, though it varies. A shutter speed, or “exposure time,” of 1/250 of a second will let in twice as much light as an exposure time of 1/500 of a second.
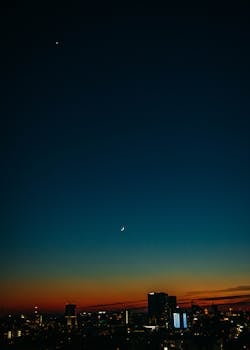
Here’s an example of how this might look in practice. You’re shooting a landscape at blue hour and your photos are coming out too dark, but you don’t want to open up your aperture because then you’ll lose that depth of field. Instead, adjust your exposure with a slower shutter speed. You get more light, and your depth of field remains the same.
How shutter speed affects motion blur
Shutter speed controls more than just your exposure; it also determines the amount of motion blur in your photo. Longer shutter speeds result in more blur. That’s why in early photography, you’re much more likely to see blurred subjects, as they just didn’t have the fast shutter speeds we do today (believe it or not, Niépce’s view from his window had an exposure time of eight hours). It’s also why light painters use long shutter speeds.
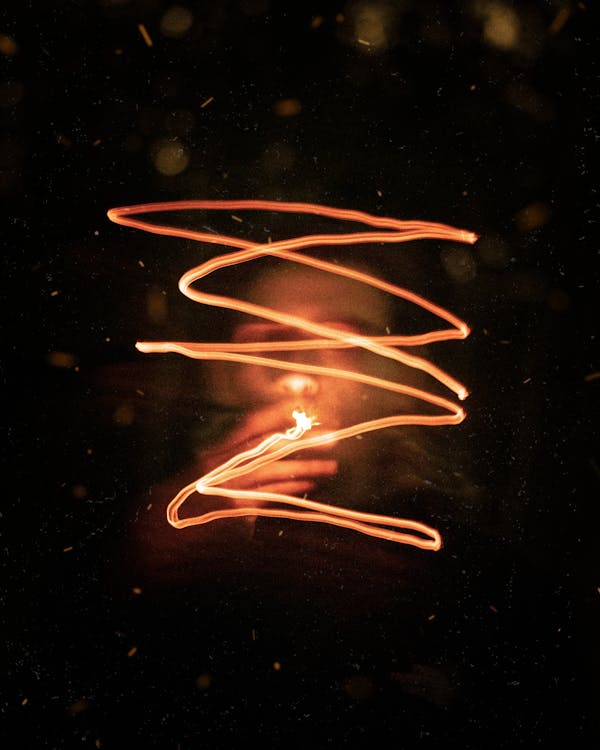
Emeric Laperriere uses a slower shutter speed of 10 seconds to paint with light.
Photo by Emeric Laperriere · View Photo
Today, you can use a slower shutter speed to create star trails across the night sky or turn waves into smooth, silky surfaces. Just remember to use a tripod to prevent camera shake. Faster shutter speeds, on the other hand, freeze motion; you’ll see them often in sports and action photography as well as wildlife photos.
Understanding ISO
How ISO affects exposure
Unlike aperture and shutter speed, ISO doesn’t change the amount of light entering your camera, but it has a significant effect on exposure nevertheless. In the old days, ISO measured your film’s sensitivity to light: the higher the number, the more sensitive the film. Back then, you’d buy film stocks based on your preferred ISO and then set your camera to match the film. As long as you had that film in your camera, your ISO would remain the same.
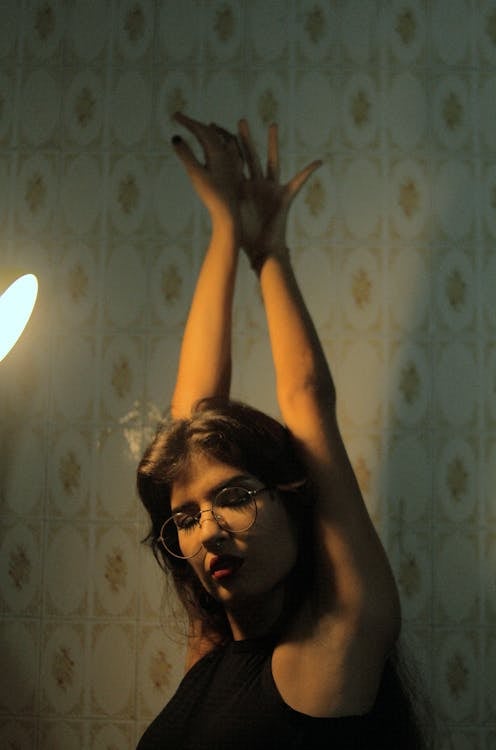
Caique Silva uses an ISO setting of 1250 to capture details in low light.
Photo by Caique Nascimento · View Photo
In digital photography, you can adjust your ISO on the fly, changing the brightness of your photo in the process. Understanding ISO is relatively straightforward, and most cameras will have an ISO range from around 100 to 1600, though some fancy cameras go all the way up to ISO 4,560,000!
If you’re shooting at ISO 100, you’ll need twice as much light to get the same exposure as you would with ISO 200, all other settings being equal. ISO 1600 is twice as sensitive as ISO 800 and needs half as much light.
The lowest number on your camera is your base ISO, and it’s probably the one you’ll use most often. Higher ISOs are generally used in low light situations where faster shutter speeds and wider apertures aren’t an option. For example, if you’re shooting street photos at night but still want a wide depth of field and no motion blur, your best bet would be to boost your ISO.
How ISO affects noise grain
The reason you’ll want to keep your ISO as low as possible is that raising your ISO will increase the amount of noise (or grain, if you’re using film) in your image. While film grain can and often is used to artistic effect, digital noise is mostly something you’ll want to avoid, as it degrades the quality of your image. An ISO of 4,560,000 might perform miracles, but it’ll also result in a lot of noise.
As with the other two corners of the exposure triangle, ISO can work as a trade-off: sometimes it’s worth having some noise for a brighter image, and sometimes it isn’t. It’s up to the photographer’s discretion, but we like to think of ISO as the final piece of the puzzle—only increase it when you can’t adjust your aperture or shutter speed instead.
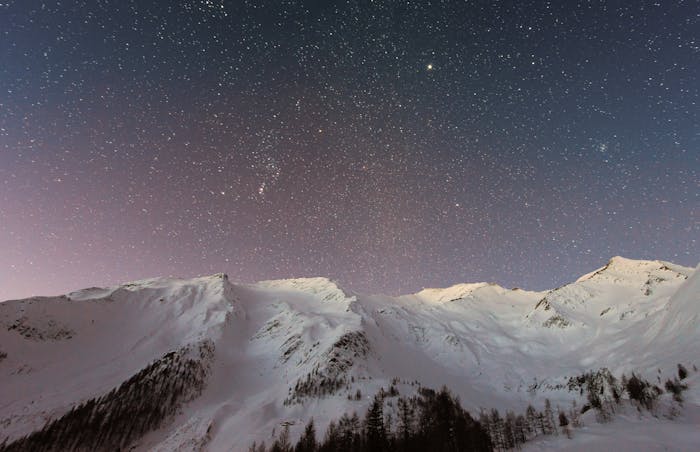
Eberhard Grossgasteiger uses ISO 1600 to capture the details of a landscape at night.
Photo by eberhard grossgasteiger · View Photo
In conclusion
Once you understand aperture, shutter speed, and ISO, you’ll be able to produce proper exposures every time, without blown-out highlights or lost shadows. But you’ll also be able to control other aspects of your photography, from depth of field to motion blur to noise.
After you have a handle on “the rules” of exposure, you can start to play with them and develop your own unique style. While many images benefit from a correct exposure, that’s not to say that underexposing or overexposing can’t be used for creative effect. “I think the biggest mistake you can make is thinking there’s a ‘right’ way of taking photographs,” says Gatcum, who’s spent decades writing about and teaching photography.
“Learning about exposure and all the other technicalities that photography brings is hugely important, but it’s equally important to remember that photography is also a creative exercise—and something of a personal one as well.
“I take more underexposed, overexposed, and blurred shots now than I ever did when I was starting out. That’s because back then I believed all of those things were fundamentally ‘wrong,’ whereas I now see them as creative options that I can use when I want to.” After all, the first photo ever taken was underexposed, but no one ever said it wasn’t beautiful.
Cover photo by Thijs van der Weide.
Pexels is a platform for high quality stock photos you can use for free.
Browse free photos