Level Up Your Street Photography with Night Shots
There's something special about night-time street photography.
It can take some extra effort, but shooting street photography at night offers so many exciting possibilities for dramatic lighting and composition. From capturing busy traffic at dusk to quiet midnight streets, night shoots present unique challenges for street photographers.
We asked Minneapolis photographer Josh Hild, who specializes in atmospheric street photography, to share his advice for impactful street photos at night. Here are his tips for great night-time shots—even in cold and stormy weather.
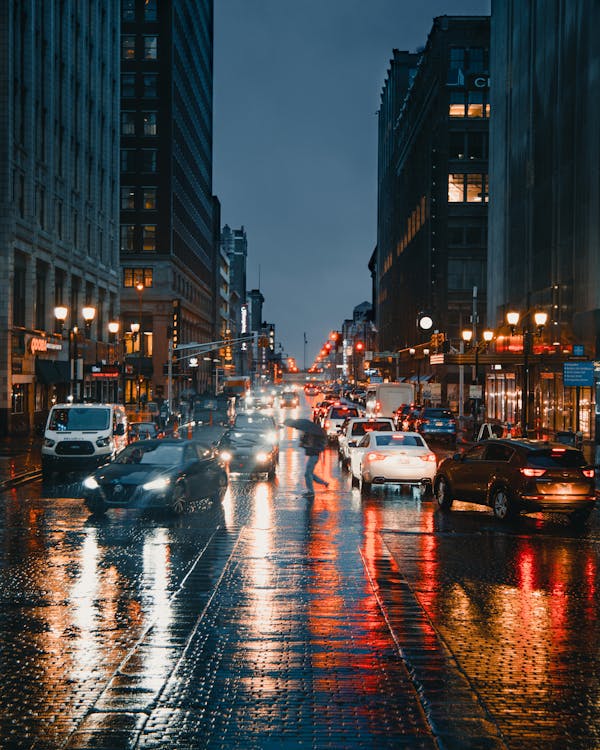
Rainy weather can make for great street photography.
Photo by Josh Hild · View Photo
Getting started with night time street photography
I’m originally from a small farm town where there is little to no light. So when I moved to the city, I immediately became enamored of all the lights the city had to offer.
Capturing still movement at night without blur is very difficult. Having a full frame camera with a prime lens that can stop down to 1.4 really helps in low light situations. It allows you to raise your shutter speed enough to capture human movement without too much blur, so you can run around and shoot handheld.
Another good tip is to use street posts, sides of buildings, and sometimes even trash cans as temporary tripods.
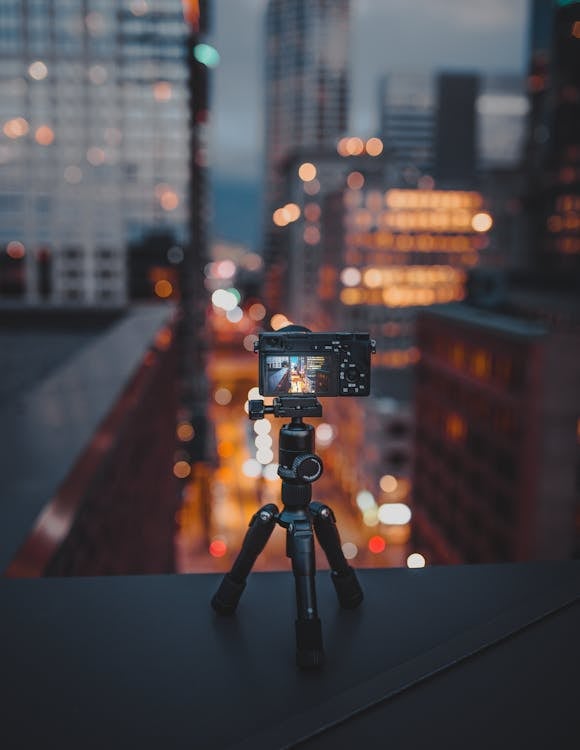
A tripod like this one can come in handy for street photography.
Photo by Josh Hild · View Photo
I shoot on a Canon 6D with a Sigma 14-14mm F2.8 and Sigma 35mm F1.4. A wide angle lens is a must for any street photography, because there is so much depth to capture with tall buildings, skyways, and other objects. The prime lens I use is great for cinematic shots as it allows me to get more personal photos with a shallow depth of field.
If you're shooting somewhere cold, keep in mind that the temperature will probably drop a lot at night. WEAR. GLOVES. And always have a lens cloth on hand because your lens will catch snowflakes like it’s Randy Moss. Also, shooting at 1/60th or higher for a shutter speed is the sweet spot for getting crisp snowflakes.
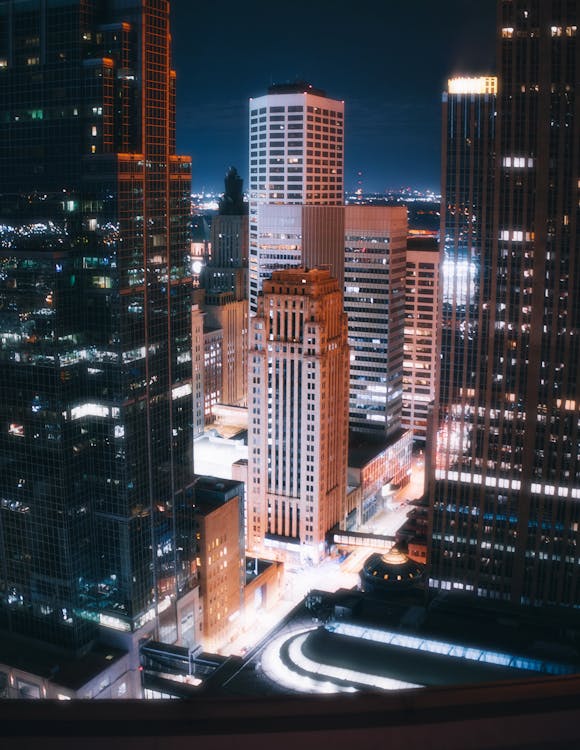
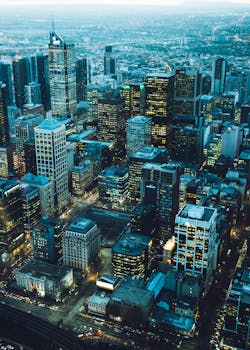
Elevated vantage points give your photos a dramatic feel.
Photo by Josh Hild · View Photo
How to find locations for night time street photography
I usually start on Google Maps, Street View and 3D view. I look for buildings that either have cool texture, lights, or other creative aspects to them.
I take note of at least three spots I want to go, to then allow the rest for improvisation. This allows me to get creative and look for spots around those areas that I would not have found online.
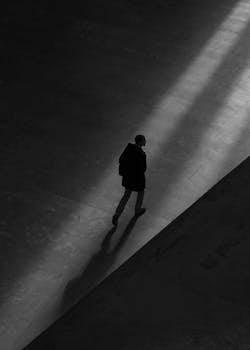
Once I’m in these spots I like to just follow the light. Good backlighting is very key in street photography, because it creates dramatic shadows and silhouettes of your subjects in the foreground.
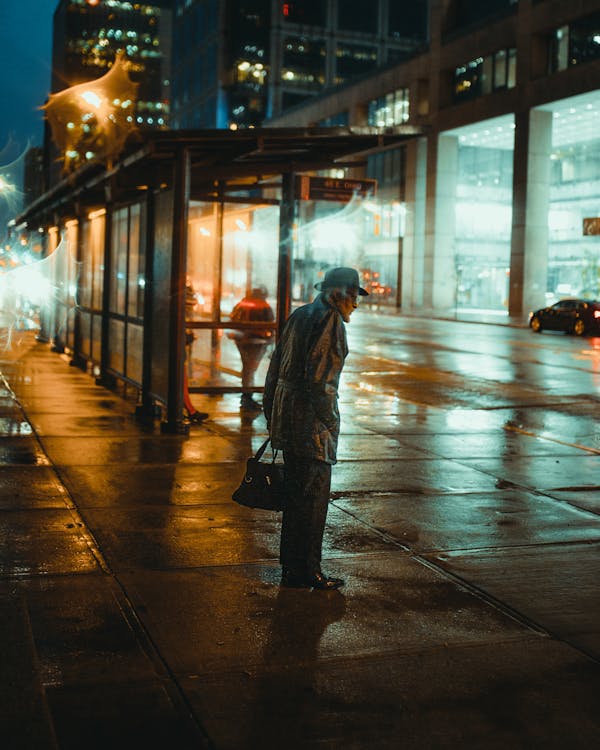
Reflected light on wet pavement helps add drama to this shot.
Photo by Josh Hild · View Photo
When it comes to finding high-up spots for elevated shots, it's all trial and error. Some doors to the top are open, and some are secured and locked. So it’s a matter of just scoping out which buildings might have good angles and views.
You can email security of some buildings telling them you’re a photographer and offer them a digital copy or print of the images you capture on their roof, but keep in mind a lot of them will say no.
Once you’re on top, it’s ideal to have a lens wide enough to show more of a human-eye POV that captures the huge scale of the city. You might think the higher the rooftop the better, but some of the best views are actually from the shorter buildings that look up to the taller ones.
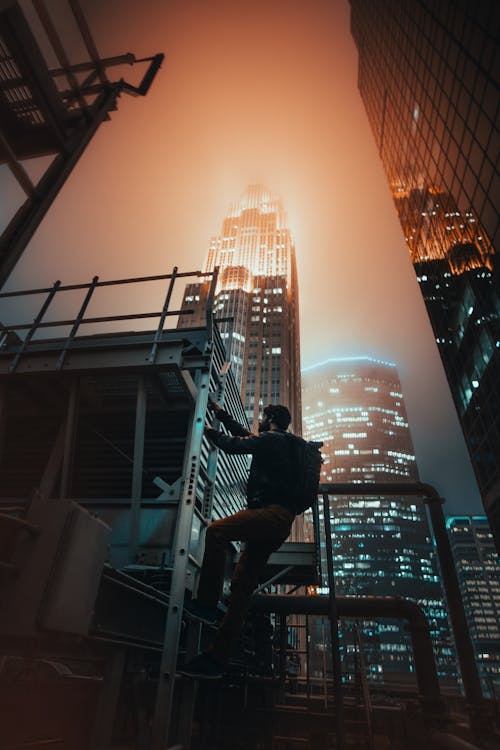
Finding the best street photo locations can take some exploring.
Photo by Josh Hild · View Photo
Location scouting for street photography in a new city
Almost every city has popular spots that people gravitate towards to get good photos. Tagged locations on Instagram is a good place to start. You will see how other artists shoot and edit those spots, and this will help you get the creative wheel spinning.
It’s also better to find local photographers who know the area well—they know spots within the city that most tourists don’t go to.
If you find a landmark or location you’re really interested in photographing, start thinking about different ways of shooting it. You can start by walking around these locations in a circle, and give yourself plenty of time to walk around and wait for a good lighting opportunity.
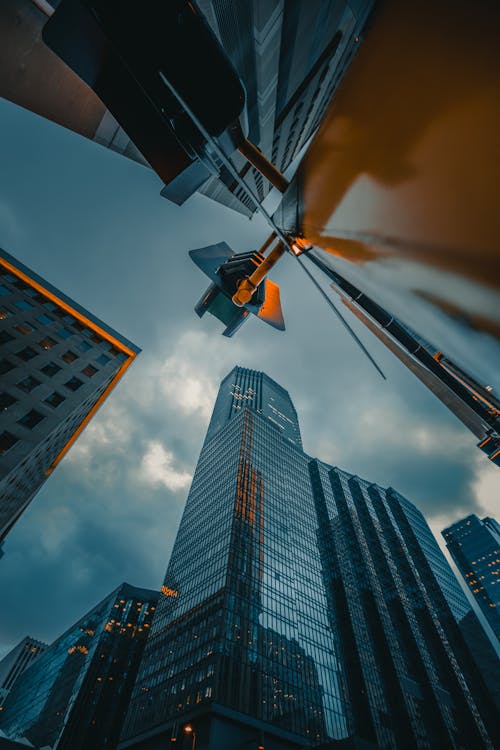
Try shooting from the ground up.
Photo by Josh Hild · View Photo
Street photography at dusk
Shooting with the sun still out as it is setting can sometimes give you heavily contrasted images, so having a tripod to do bracketed images can help tremendously. You can get a lot of detail in the shadows and highlights by making these HDR images.
You won’t be able to see it the best with your natural eye, but right after the sun sets over the horizon is a good time to experiment with longer exposures. Your camera will pick up the warm colors of the sky still and the lighting will be more even. Some of the best sunset photos I’ve taken have been when I couldn’t even see the sun at all.
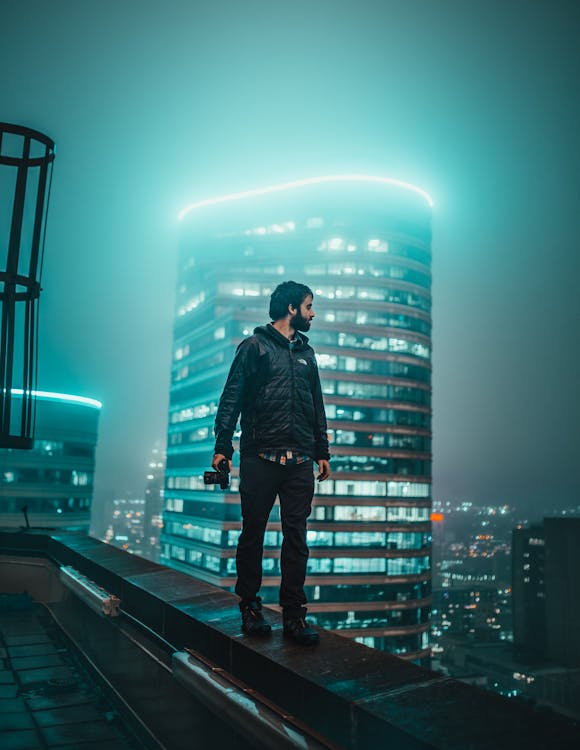
Bring a friend on your night-time shoot and you can snap some portraits, too.
Photo by Josh Hild · View Photo
Editing tips for night time street photography
It’s all about the blues and highlights for me. I slide the white balance over to the cool side and change the hues of my blues and highlights to be a little bit more aqua.
I keep a close eye on my black levels on the RGB tone curve, because I see a lot of people soften their blacks and shadows too much where they start to lose detail in their photos. So finding the right amount of “fade,” if any, is important.
Pexels is a platform for high quality stock photos you can use for free.
Browse free photos