How to Shoot Nature Photos in Your Own Backyard
Trips to far-flung landscapes are amazing for many invaluable reasons but in photographic terms, you’re definitely taking a risk. Instead, why not stick a little closer to home and see what your local area has to offer?
From photographing foxes and squirrels in nearby green spaces and parks to exploring the wonders of your own backyard, there are plenty of opportunities to try something new for no extra cost.
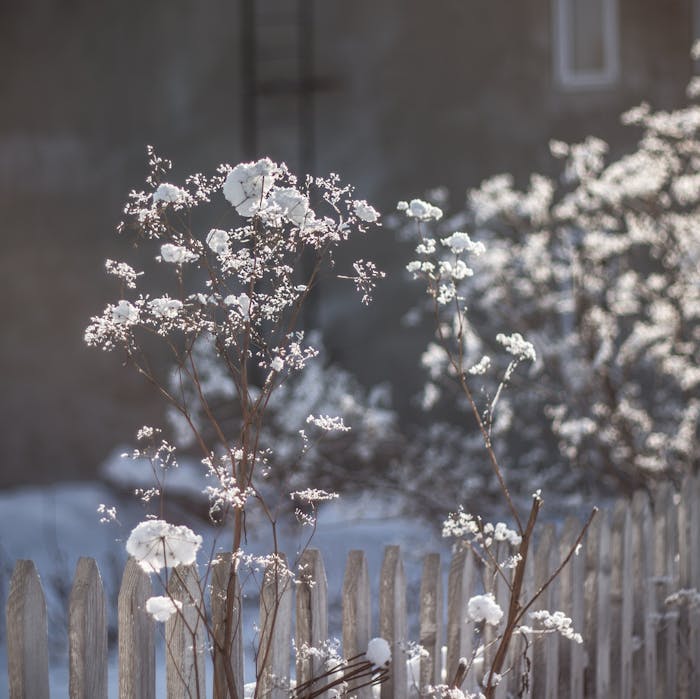
Even in winter, you can find nature photo opportunities.
Photo by Alissa Nabiullina · View Photo
For those that enjoy a challenge, seeking out unique subjects in and around where you live can stimulate just as much inspiration as going somewhere you’ve never been before. Even if you live in a crowded city you can still capture the essence of nature in an urban setting—and it's all the more powerful as it’s unexpected.
So, if you’re keen to get creative our tips and tricks for nature photography in your own backyard (and a little bit beyond) will help you get started.

Try going close-up with an interesting flower or plant.
Photo by Irina Iriser · View Photo
Nature Photography Tip #1: Fill the Frame
When people think of nature photography, it's easy to only consider wide-angle shots, but there's no reason you can't get up close and personal with your subject—particularly if you're playing in your own backyard or local park.
Of course you need to think about the shapes in your image and how they're balanced, but textures are important too. However, sometimes when we talk about adding texture to a photograph it can seem like vague advice.
To bring things into focus (pardon the pun), think about what descriptive words you would use to explain the image you're hoping to take and try to highlight those details in your photo. For example, beads of dew sitting on a blade of grass or frost slowly melting off of leaves as winter turns to spring.
Look closely at the subjects around you and don’t be afraid to zoom in—magnifying the finer details can lead to some extraordinary photographs. Hot tip: use a shallow depth of field to blur out background distractions.
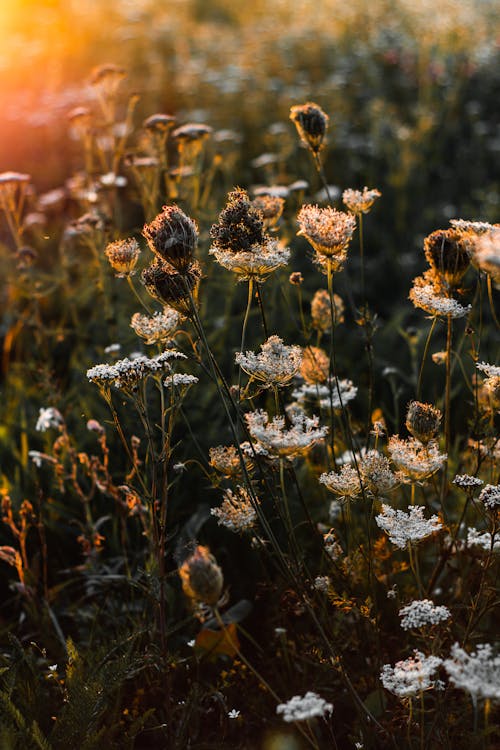
Golden hour light is ideal for lush nature photos.
Photo by Irina Iriser · View Photo
Nature Photography Tip #2: Get the Lighting Right
The weather is a fickle beast no matter where you are in the world, so thinking carefully about the time of day you're shooting is a must.
Natural light is at its best either early in the morning or evening, particularly during the golden hours shortly after sunrise or before sunset. The light has a soft and hazy quality at these times that will illuminate your subjects more evenly than harsh, direct sunlight will.
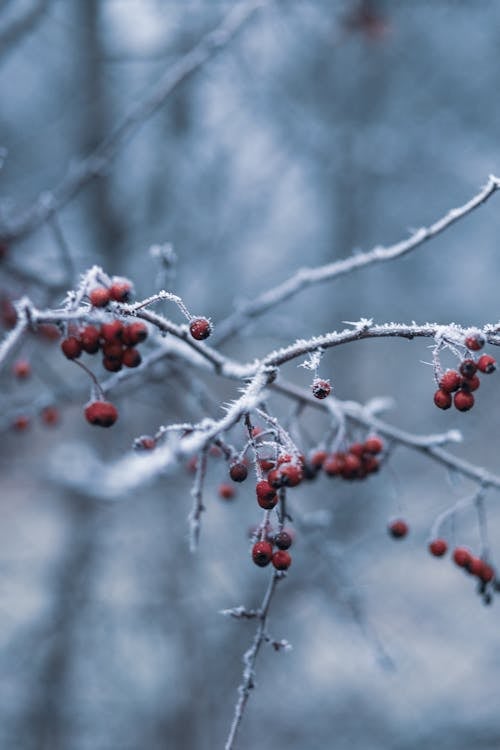
The pale light in this wintry outdoor shot gives it an ethereal quality.
Photo by Nadine Wuchenauer · View Photo
There’s also an eerie, sentimental emotion that goes hand-in-hand with the early hours of the morning or the time just before the sun descends around the earth. If you’ve ever gotten up for a sunrise walk you’ll probably understand what we’re talking about right away, and if you haven’t then now is the perfect time to give it a try—camera at the ready of course.
Try shooting the same scene at midday and then again just before sunset. You’ll likely notice that pretty, nostalgic-style feeling tends to come through in photographs shot during the golden hours. That emotion plays a big part in many a photographer’s obsession with the golden hours and it’s notoriously hard to reproduce in post-production.
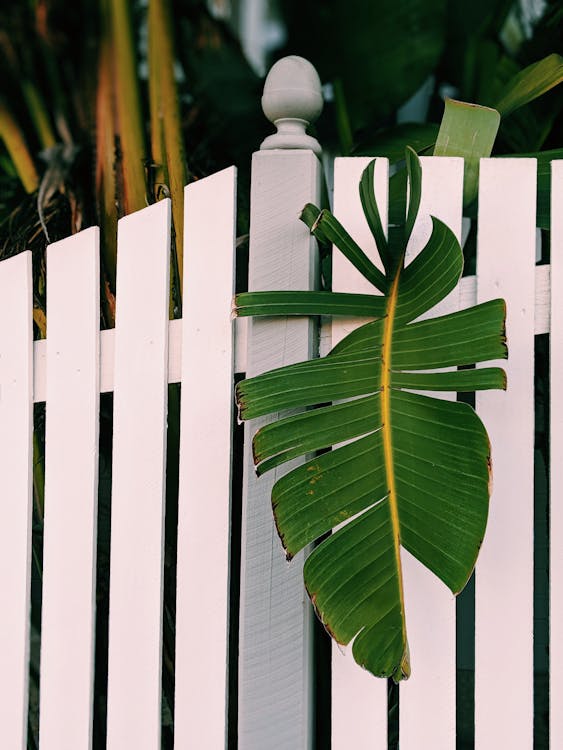
A single leaf makes a great backyard nature photo subject.
Photo by Valeriia Miller · View Photo
Nature Photography Tip #3: Play with Angles and Shadows
Although sunrise and sunset often have the most ideal natural light settings that doesn't mean you can't shoot in harsh light—you just need to be a bit more alert. Incorporating shadows, as well as front and back lighting, can transform images from washed out to dynamic in seconds.
If you’re shooting close up, simply fill the frame up with the features of your subject and you’ll have won half the battle against the sun’s harsh rays. But for wider shots, it’s all about angles.
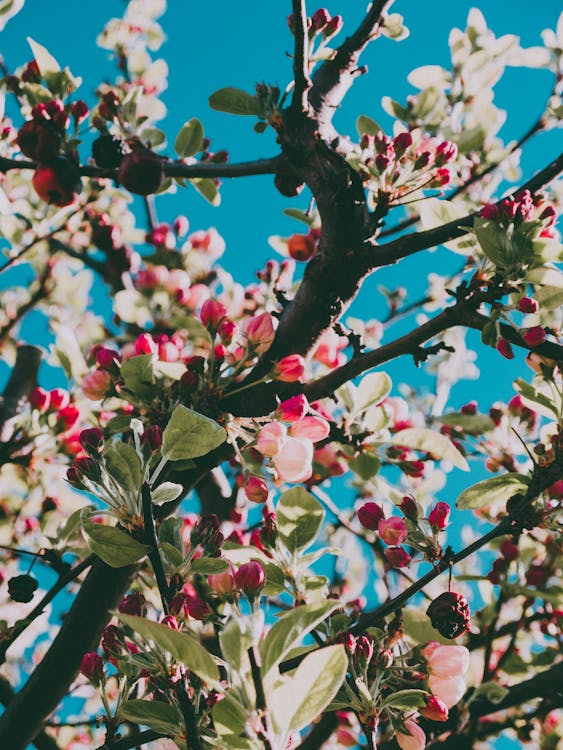
In this sunny shot, the bright flowers and dark branches create needed contrast.
Photo by Lisa Fotios · View Photo
Try moving around and placing the sun in various positions behind your subject for creamy images with an angelic glow. Keep an eye on your exposure levels as you may need to use fill flash or a reflector to keep things even.
As for those pesky shadows, there’s one rule that always leads to interesting results: if you can’t beat them, join them. Rather than fighting against all the shapes and patterns cast by shadows of nearby objects and structures, take advantage of them to create a different mood for your images. This is especially effective when shooting black and white.
If there are no natural shadows around, you can always try to create your own. A few sheets slung over your clothesline could easily create movement, texture, and shapes for your backyard nature photo series.
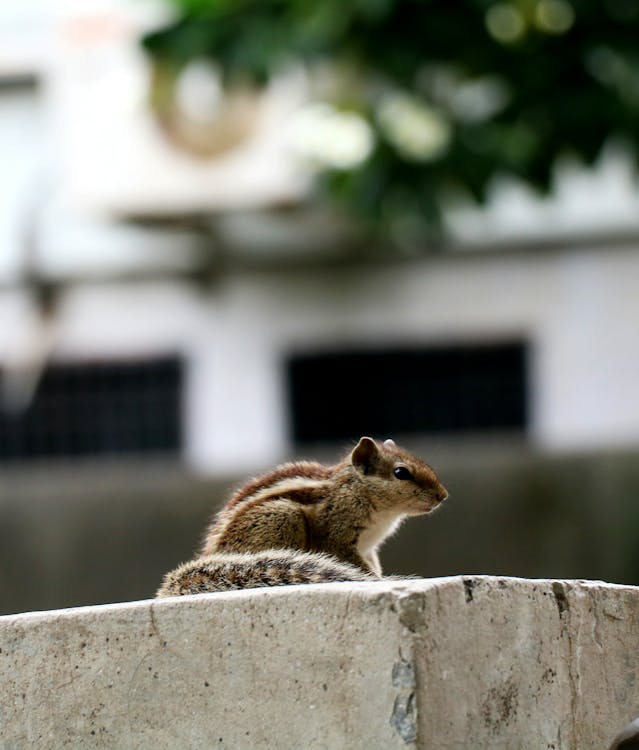
The rule of thirds adds visual interest to this chipmunk portrait.
Photo by Disha Sheta · View Photo
Nature Photography Tip #4: Be Prepared
It may seem obvious, but you need to ensure you have the right lens. If you’re attempting traditional landscape shots you’ll need a wide-angle lens. Anything up to 35mm on a full-frame camera, or 25mm on an APS-C, should do the trick.
However, you won’t want to drop below 14mm as the edges will suffer some distortion—unless you’re purposely attempting a fisheye effect.
For wildlife photography it's best to shoot with a zoom or prime lens, but the preference is down to the photographer. The latter tends to be more expensive, but depending on who you ask it’s both sharper and faster, which can make a world of difference when trying to capture photos of animals on the move.
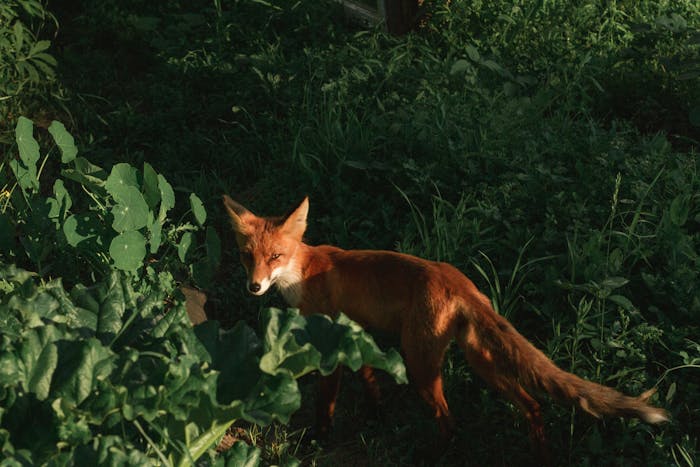
Photographing animals takes patience and care, but the results are worth it.
Photo by Artyom Kulakov · View Photo
Aside from lenses, having different types of filters or a tripod can be pretty handy when playing with your shutter speed, doing long exposures, or shooting at a higher aperture. With a good tripod you’ll find it much easier to take crisp images, capture movement, and experiment with depth of field.
Last but not least, watch your step. No matter where you are, respectful nature photography is the best nature photography.
Cover photo by Min An.
Pexels is a platform for high quality stock photos you can use for free.
Browse free photos


