Getting Started with Nature Photography
Beautiful nature photography takes a bit of preparation. Photographer Stijn Dijkstra shares his expert advice on the gear, lighting, and knowledge you need to shoot gorgeous outdoor scenes anywhere in the world.
Photography started innocently for me ten years ago. I grew up in a small village surrounded by forests and I used to go out and explore in the weekends.
I started shooting on my phone without real purpose while walking through these forests. At first I was just shooting random stuff like branches, animals that crossed my path, and I even bought macro lenses to capture some moss.

Outdoor adventures lead to captivating photos.
Photo by Stijn Dijkstra · View Photo
After a while I started liking the idea of freezing a moment by creating a picture, and I started going to the forest more around sunrise because I felt like I really loved the early morning light. This is where I started to get motivated to get better at photography.
I started to learn about composition, light, and storytelling. While doing this I started uploading my images on Instagram and I started to get addicted to getting feedback and love from people around the world.
Now, 10 years later, I've exchanged my phone for a camera, and I enjoy shooting landscapes for the exact same reason as before!
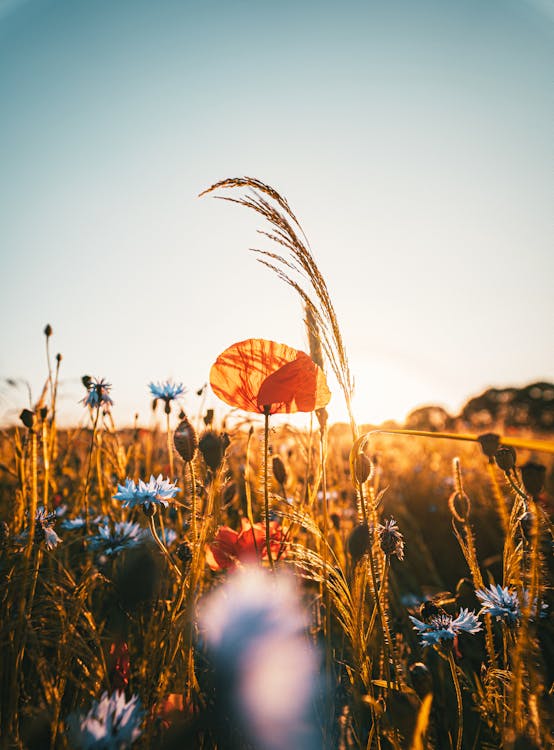
Vibrant colors make for eye-catching nature shots.
Photo by Stijn Dijkstra · View Photo
Gear for nature photography: It's all about the right lenses
I always suggest people to invest in glass over bodies, if you're not sure what body or lenses to get. I would go to a camera store and ask if you can try out different bodies with prime or zoom lenses.
Don't spend too much money on gear, invest in trips so you can create content!
I shoot with a Sony A7III and my main lens is the Samyang 14mm 2.8. I also use the Tamron 17-28 & Tamron 28-75 2.8. The Mavic 2 Pro is the drone I shoot with.
When it comes to carrying everything around, I use the Mindshift Backlight 26L Photo Daypack. And I use a Sirui N-2004KX tripod.
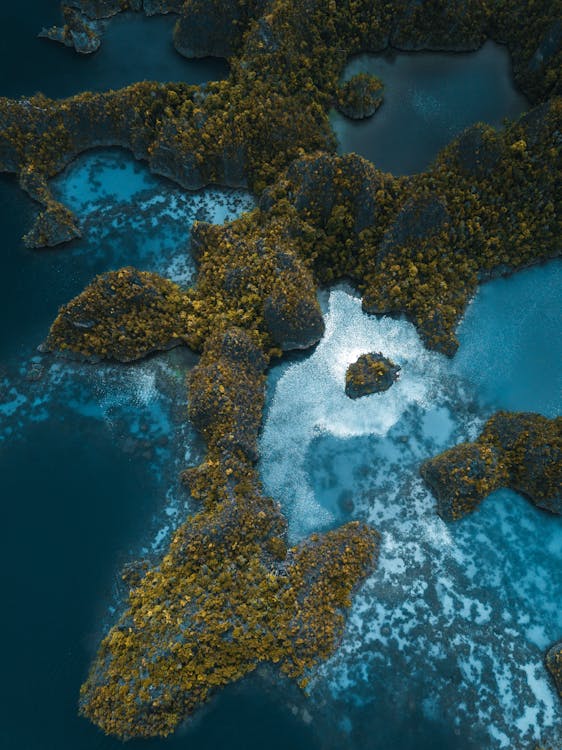
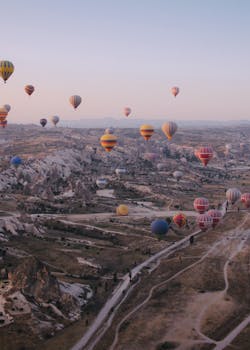
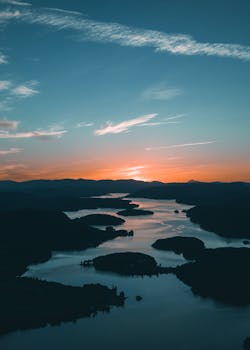
Drones are key for capturing stunning aerial scenes.
Photo by Stijn Dijkstra · View Photo
Finding nature photography locations: Do your research first
Finding nature photography locations often starts by finding cool Instagram pictures. I use Google Maps quite often to find more information regarding that particular location.
Example: I just went to Piva Lake, Montenegro. My friends and I did research on the way there by checking the curves of the river and seeing if there are interesting objects such as bridges, ridges, or viewpoints.
One important tip is to check the regulations in an area beforehand. Can I drone here? Are there fences? If yes, can I cross them? Can I get down to the river by stairs or a specific road?
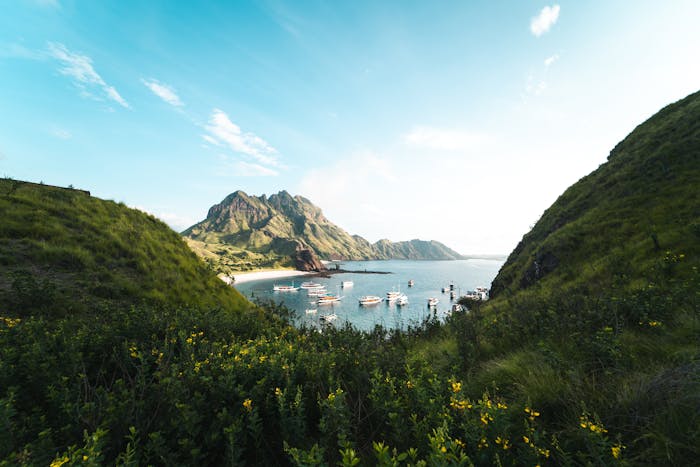
Research your location before you go.
Photo by Stijn Dijkstra · View Photo
In the end, it doesn't matter how much research I do, most of my pictures are spontaneously created on the location itself. It often comes down to weather conditions. When it rains I shoot differently than when I have a burning sunset!
My biggest friend when it comes to gloomy and moody weather is my tripod. Often when it's moody out, there is not a lot of light to work with, so the first thing I do is put my ISO up to make sure I don't lose all my shadows.
If that is not enough, I will try shooting with a slower shutter speed, which is the reason I use my tripod.
As a landscape photographer, I prefer shooting with a narrow aperture which means it lets through less light. So I try to play with my shutter speed instead. A positive side to shooting moody weather is that you have more time to shoot, so you can play around with the settings until you are happy.
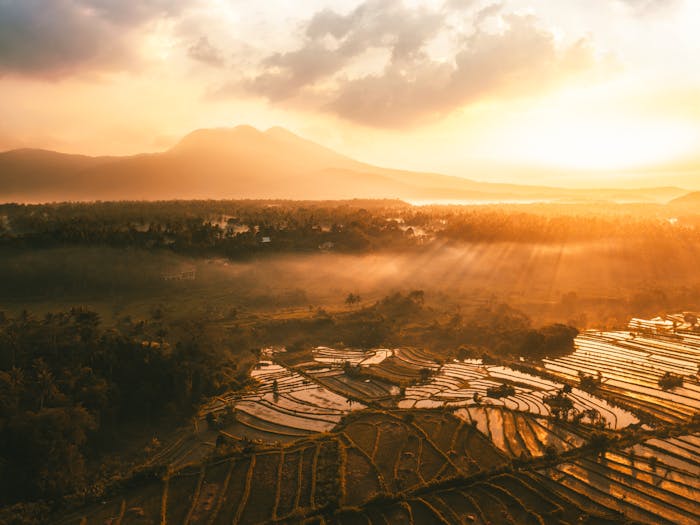
Sunsets are an ideal time for nature photos.
Photo by Stijn Dijkstra · View Photo
Nature photography lighting: Timing is everything
I only shoot during sunrise and sunset. The light during sunrise and sunset is soft and you get more depth. When shooting during the day, the light will be harsher and landscapes will look more flat. The only times when I shoot during the day is when there are clouds to diffuse the light.
For me, photography is more than capturing a scene. Since I travel a lot, I visit many touristic places. One of the easiest ways to avoid other people in your shots is to be at your location early.
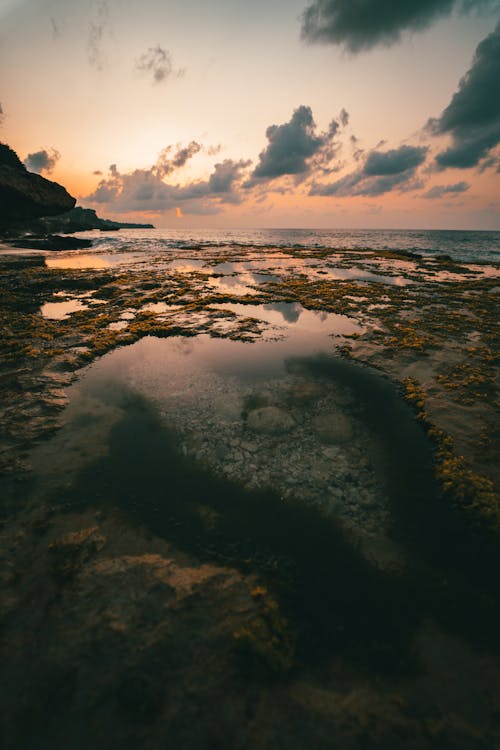
Low light can make for great textures.
Photo by Stijn Dijkstra · View Photo
I always use my app Sun Surveyor which shows me where the sun comes up and goes down at specific times. This information allows me to be at the spot I want to be at 30 minutes before the sun rises, so I can set up my gear, get the model ready, or get the drone in the air.
When it comes to shooting sunrise and sunset, it's hard to say what exact settings you have to shoot on. I prefer to shoot against the light and shooting with ND filters is a must so you can still see the sky.
There is always the question: shoot under- or over-exposed? My answer to that question when it comes to sunrises and sunsets is to underexpose to make sure the highlights (sky) are exposed correctly.
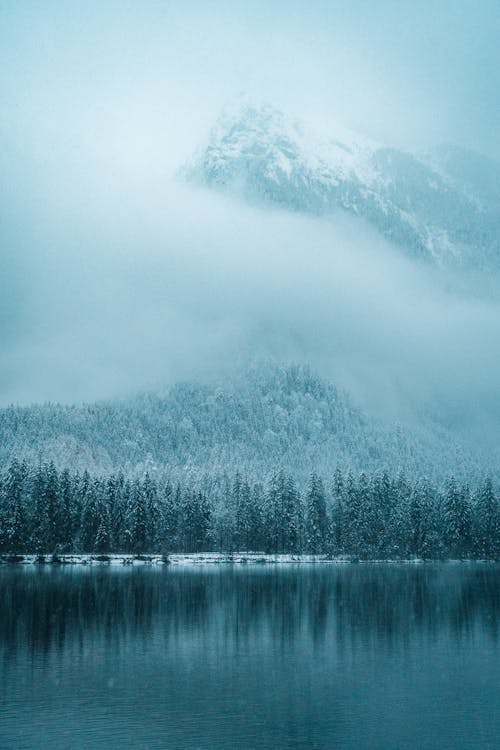
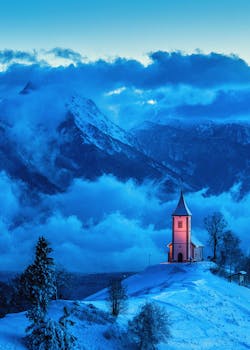
Snowy outdoors shots can yield great results, as long as you're prepared.
Photo by Stijn Dijkstra · View Photo
Nature photography safety: Be sure to protect yourself and the environment
I often read about local policies during my trip to the location. Let's say I have a flight to Canada. I will make sure to have downloaded all the information about the areas I'm visiting beforehand, so I can read it on the plane. Also, a lot of national parks have signs that tell you what you can or cannot do.
I often try to respect nature and the animals based on my instinct. Don't be too loud, don't get too close, don't fly your drone near animals, and don't feed them.
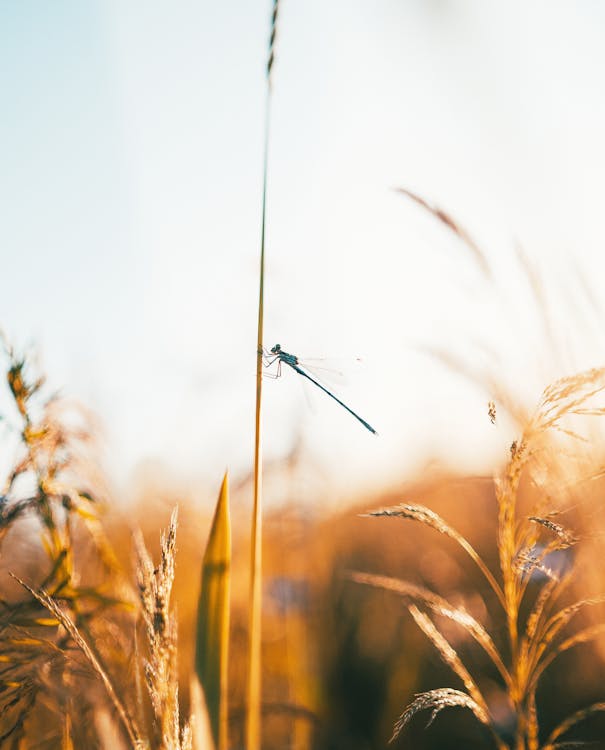
Go close up to catch the details of a scene.
Photo by Stijn Dijkstra · View Photo
Again, when it comes to preparing for extreme weather, always do your research on the specific area. The first thing to find out is what season it is. Find out what temperature it will be while you visit this area—with this information you can bring the correct clothes, sleeping bag, etc.
Another important thing to do research on is the regulations in the area you are visiting. Are there local laws for droning? Can you leave the roads? Are there dangerous animals around?
You can never be prepared too well for a trip, so always be aware that there might be something you didn't prepare for.
Check out Stijn's own Lightroom presets for easy editing of your next nature shoot.
Pexels is a platform for high quality stock photos you can use for free.
Browse free photos